This post is intended to show people what we have at the observatory, along with what you will gain from an outreach session! Hot drinks are provided as well 🙂
What equipment do we have?
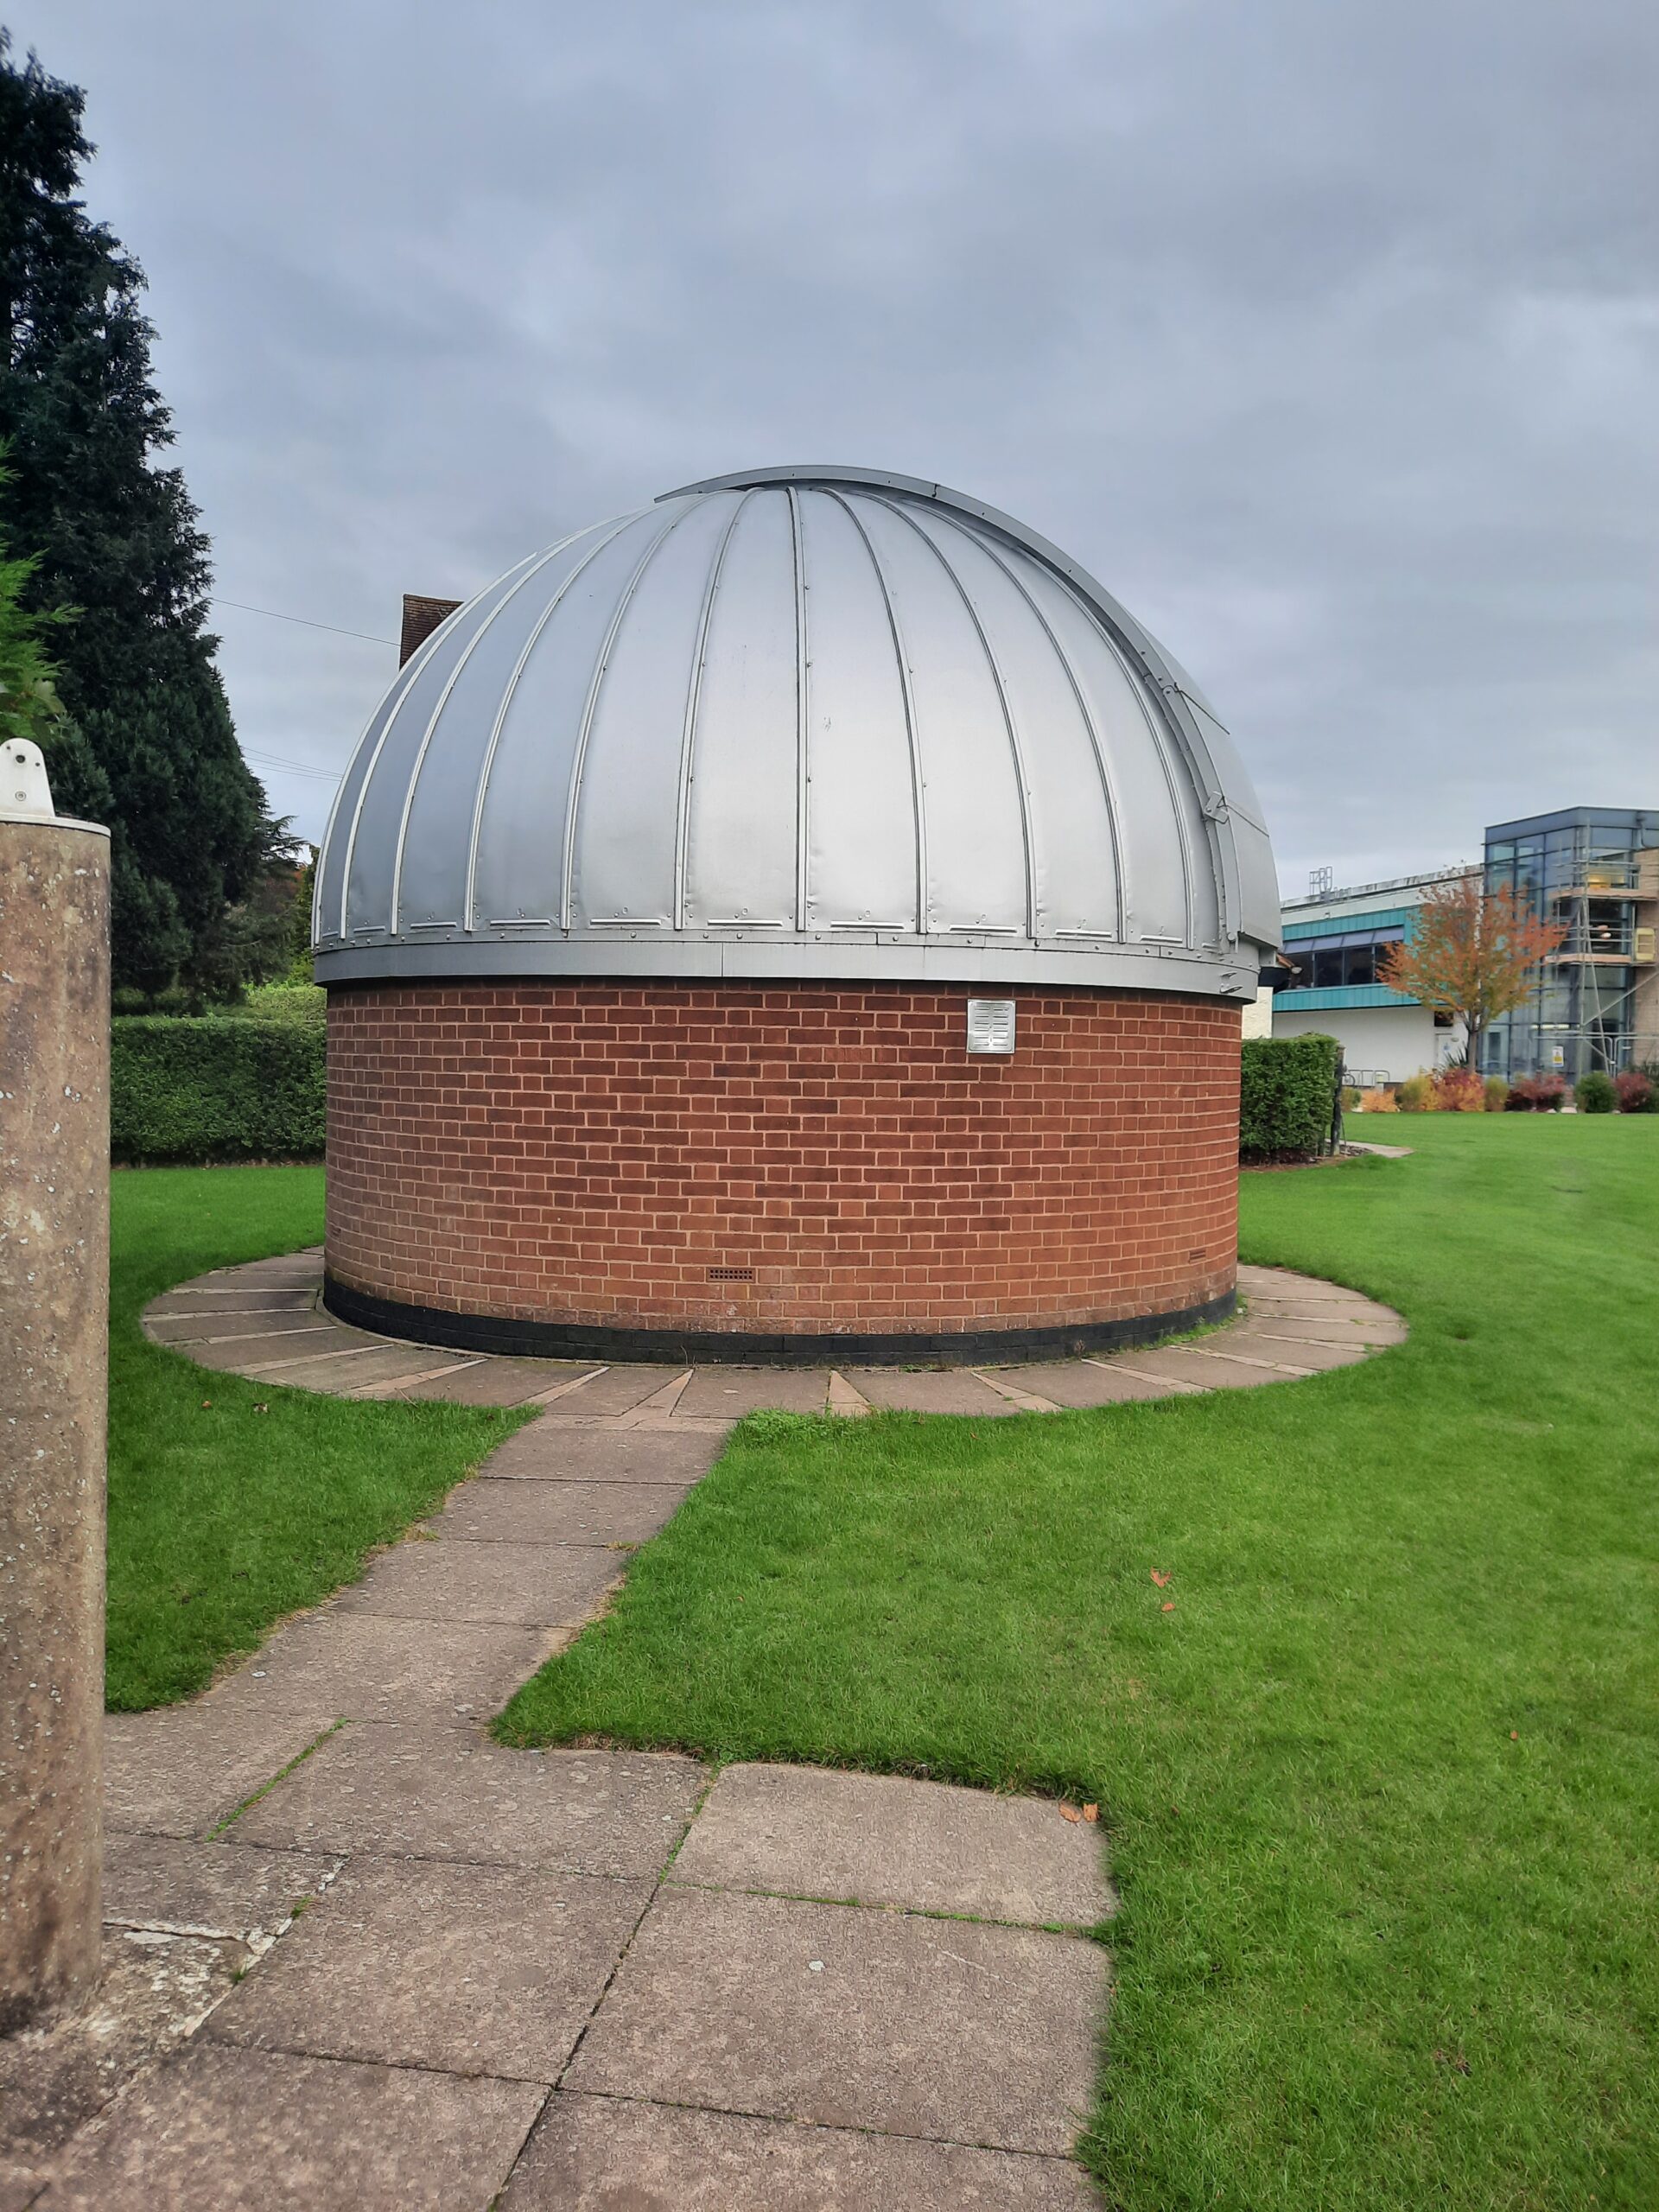
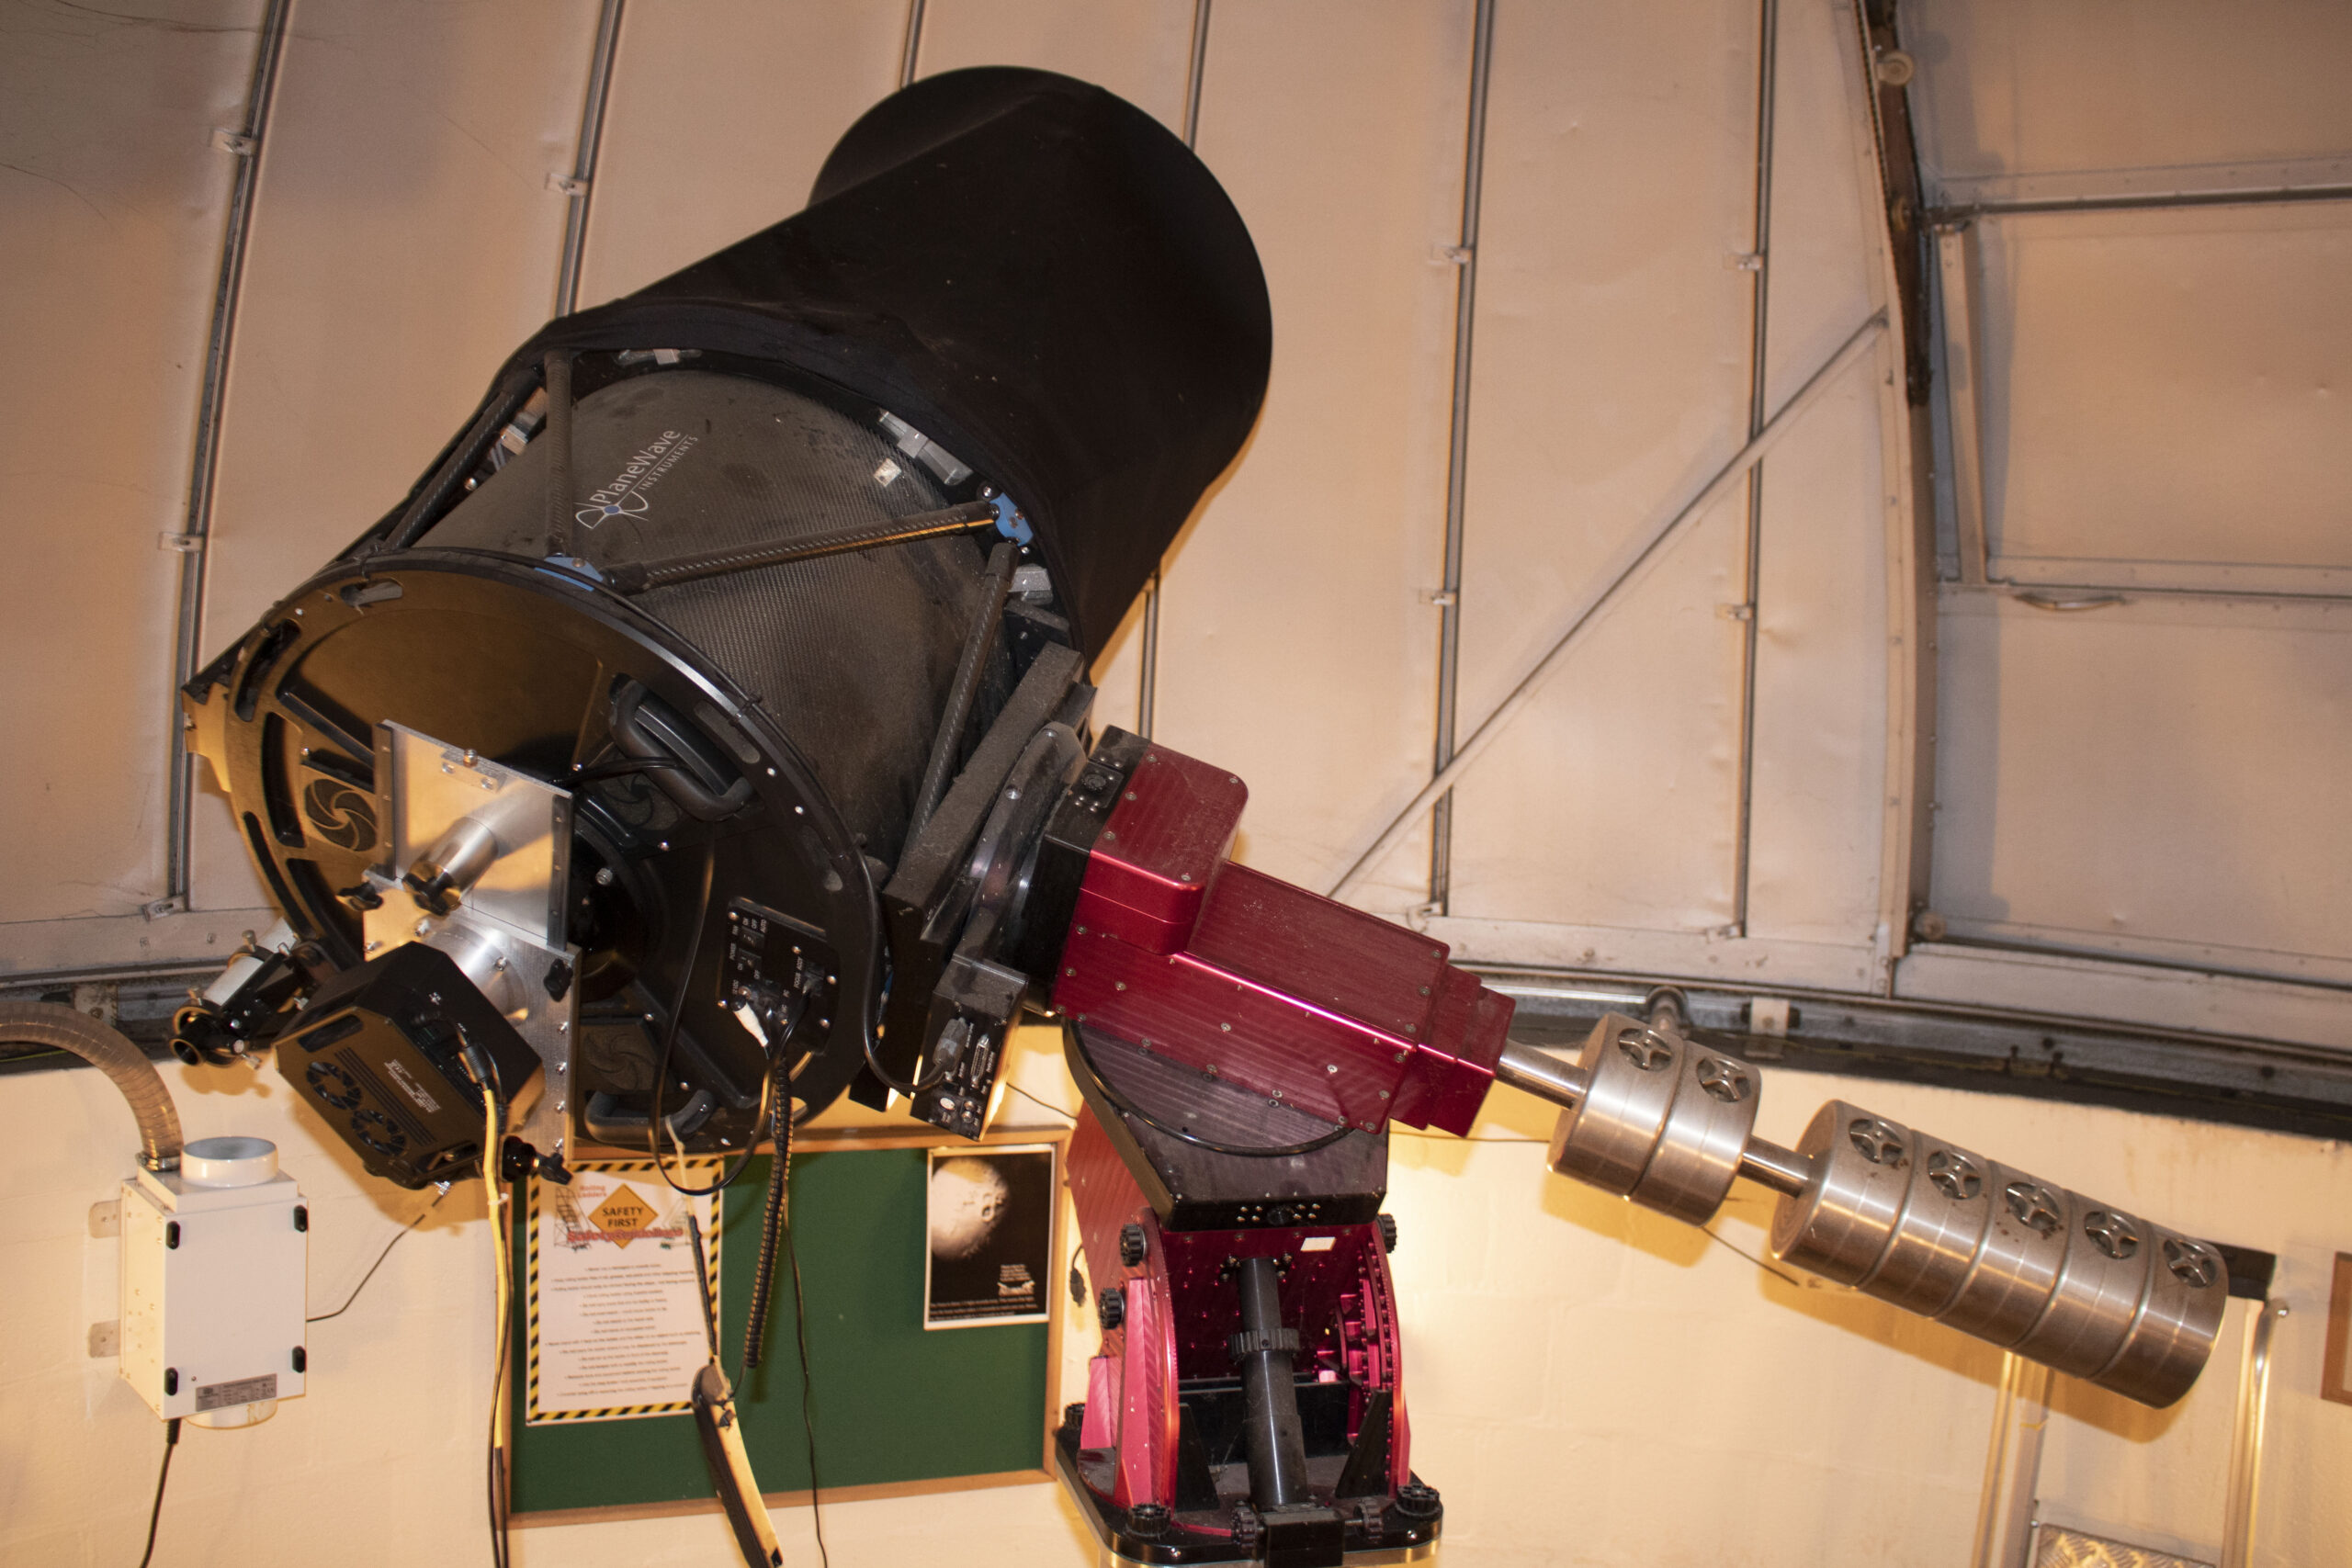
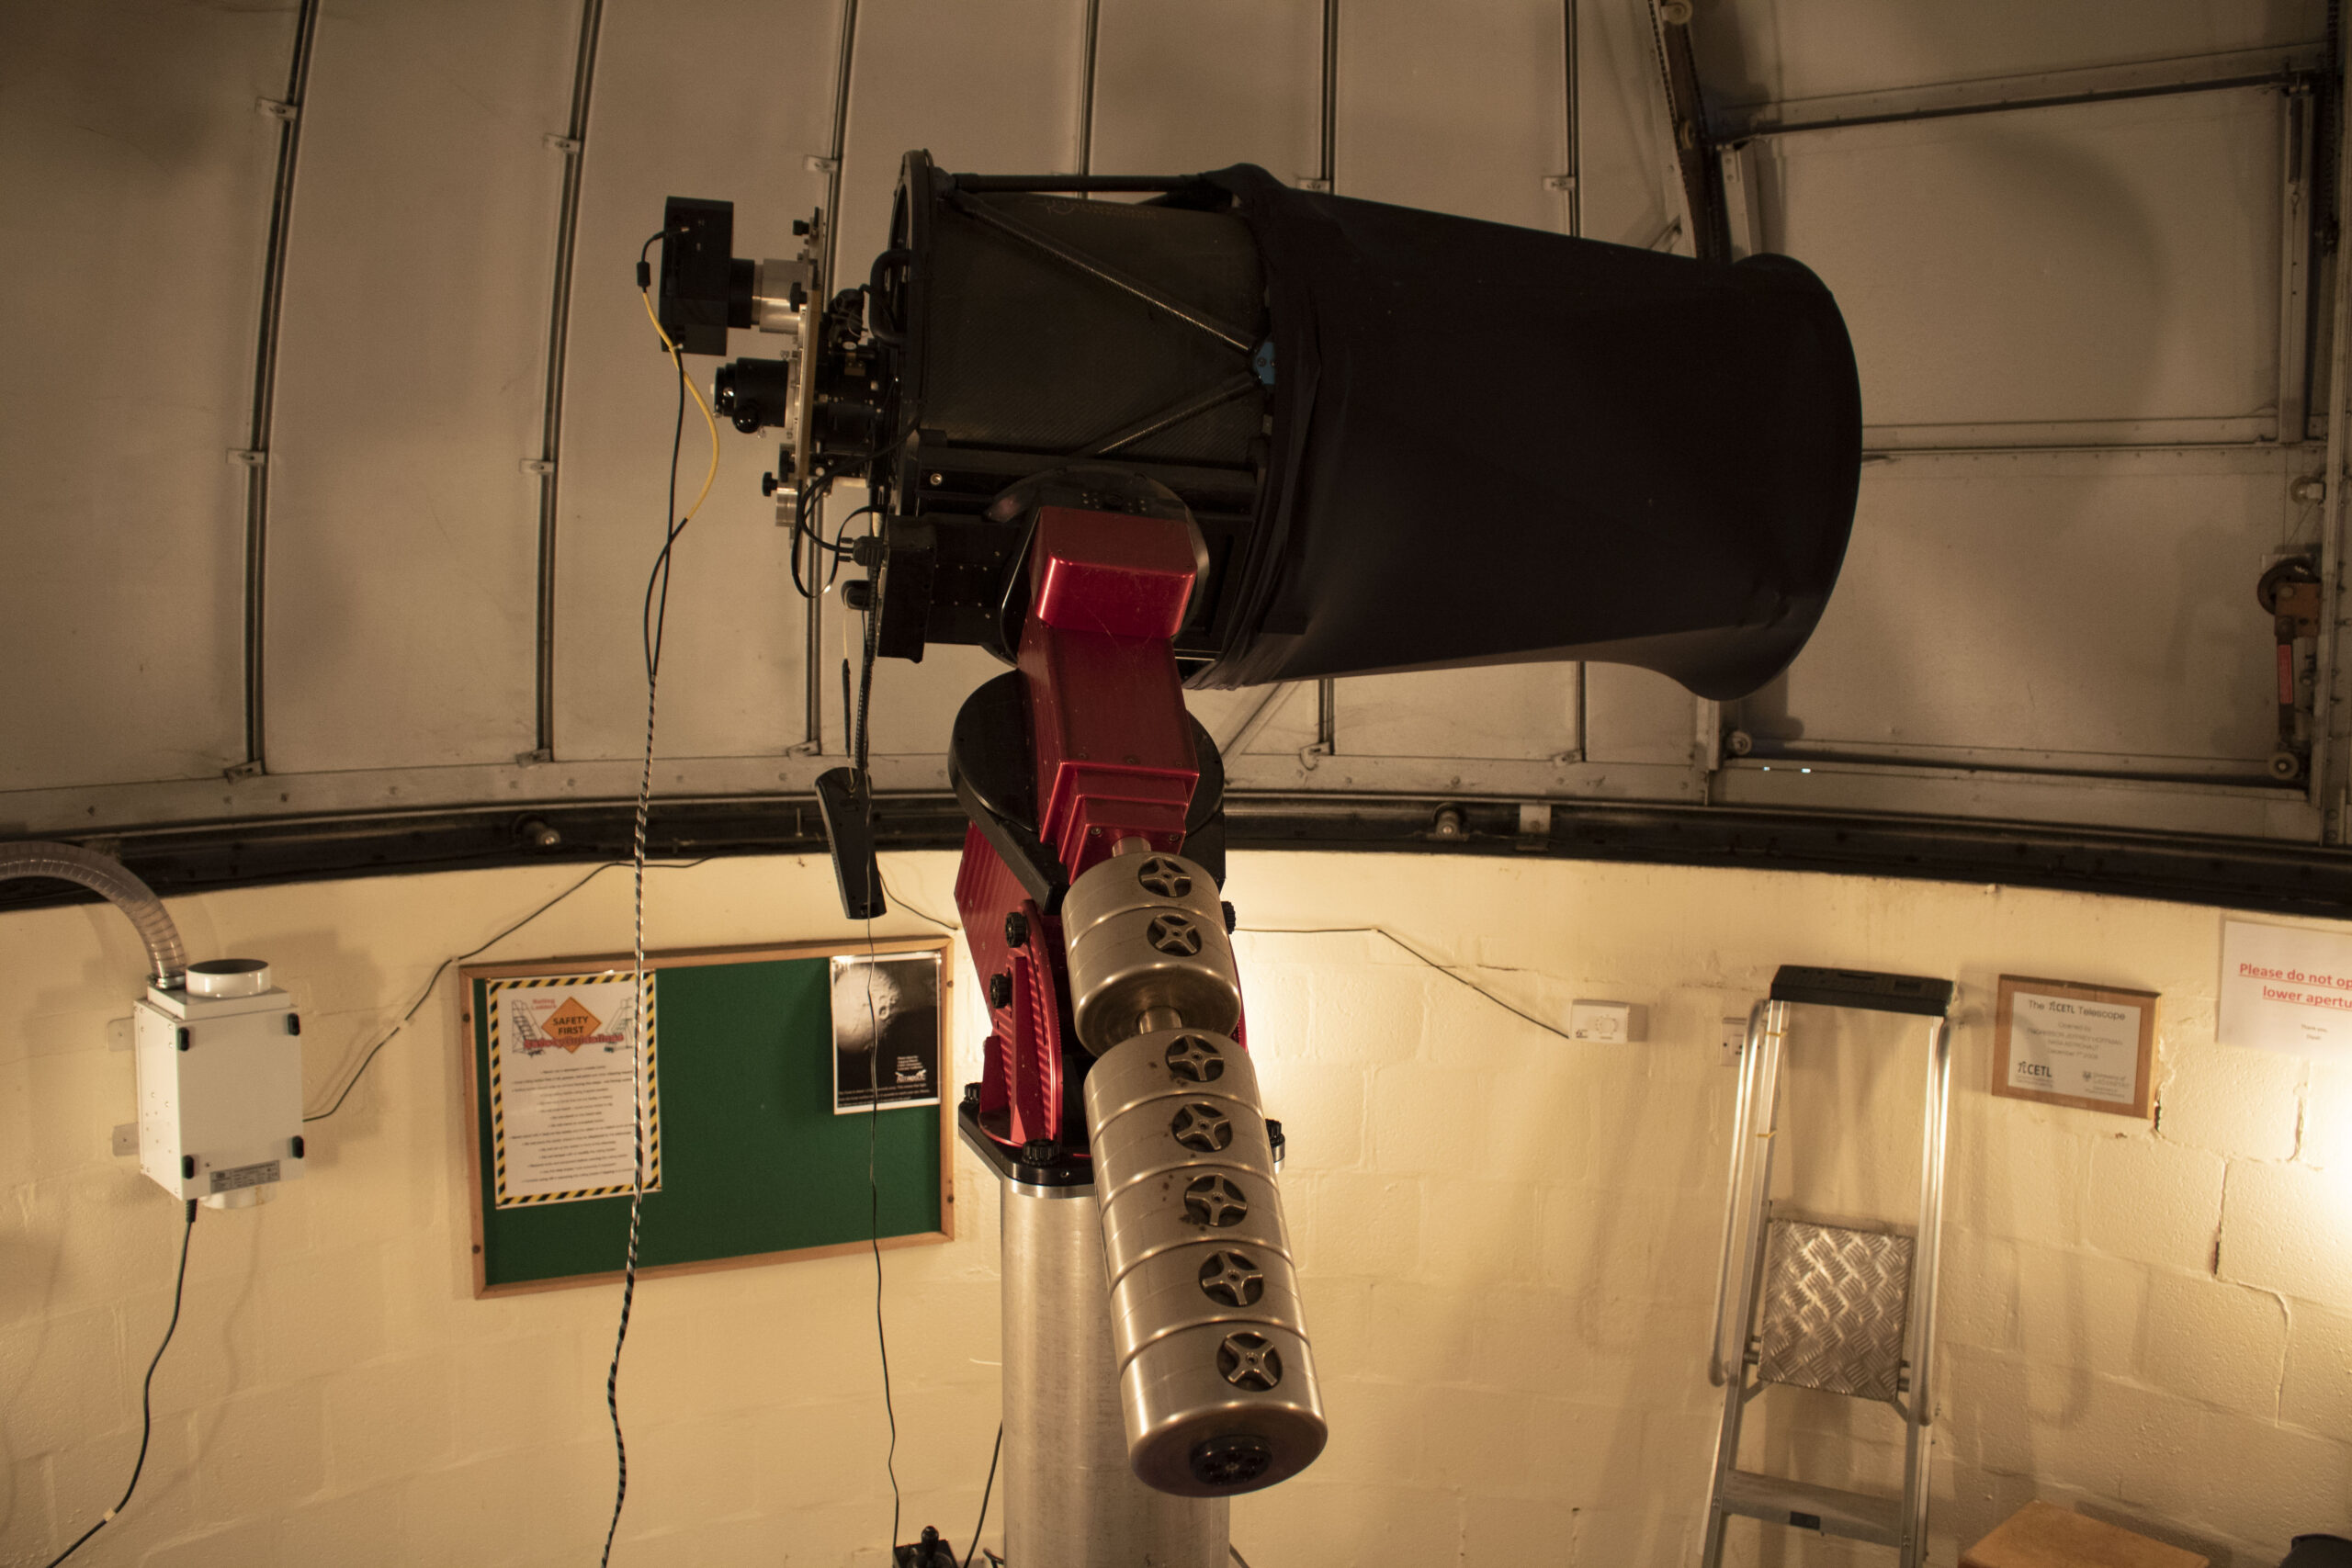
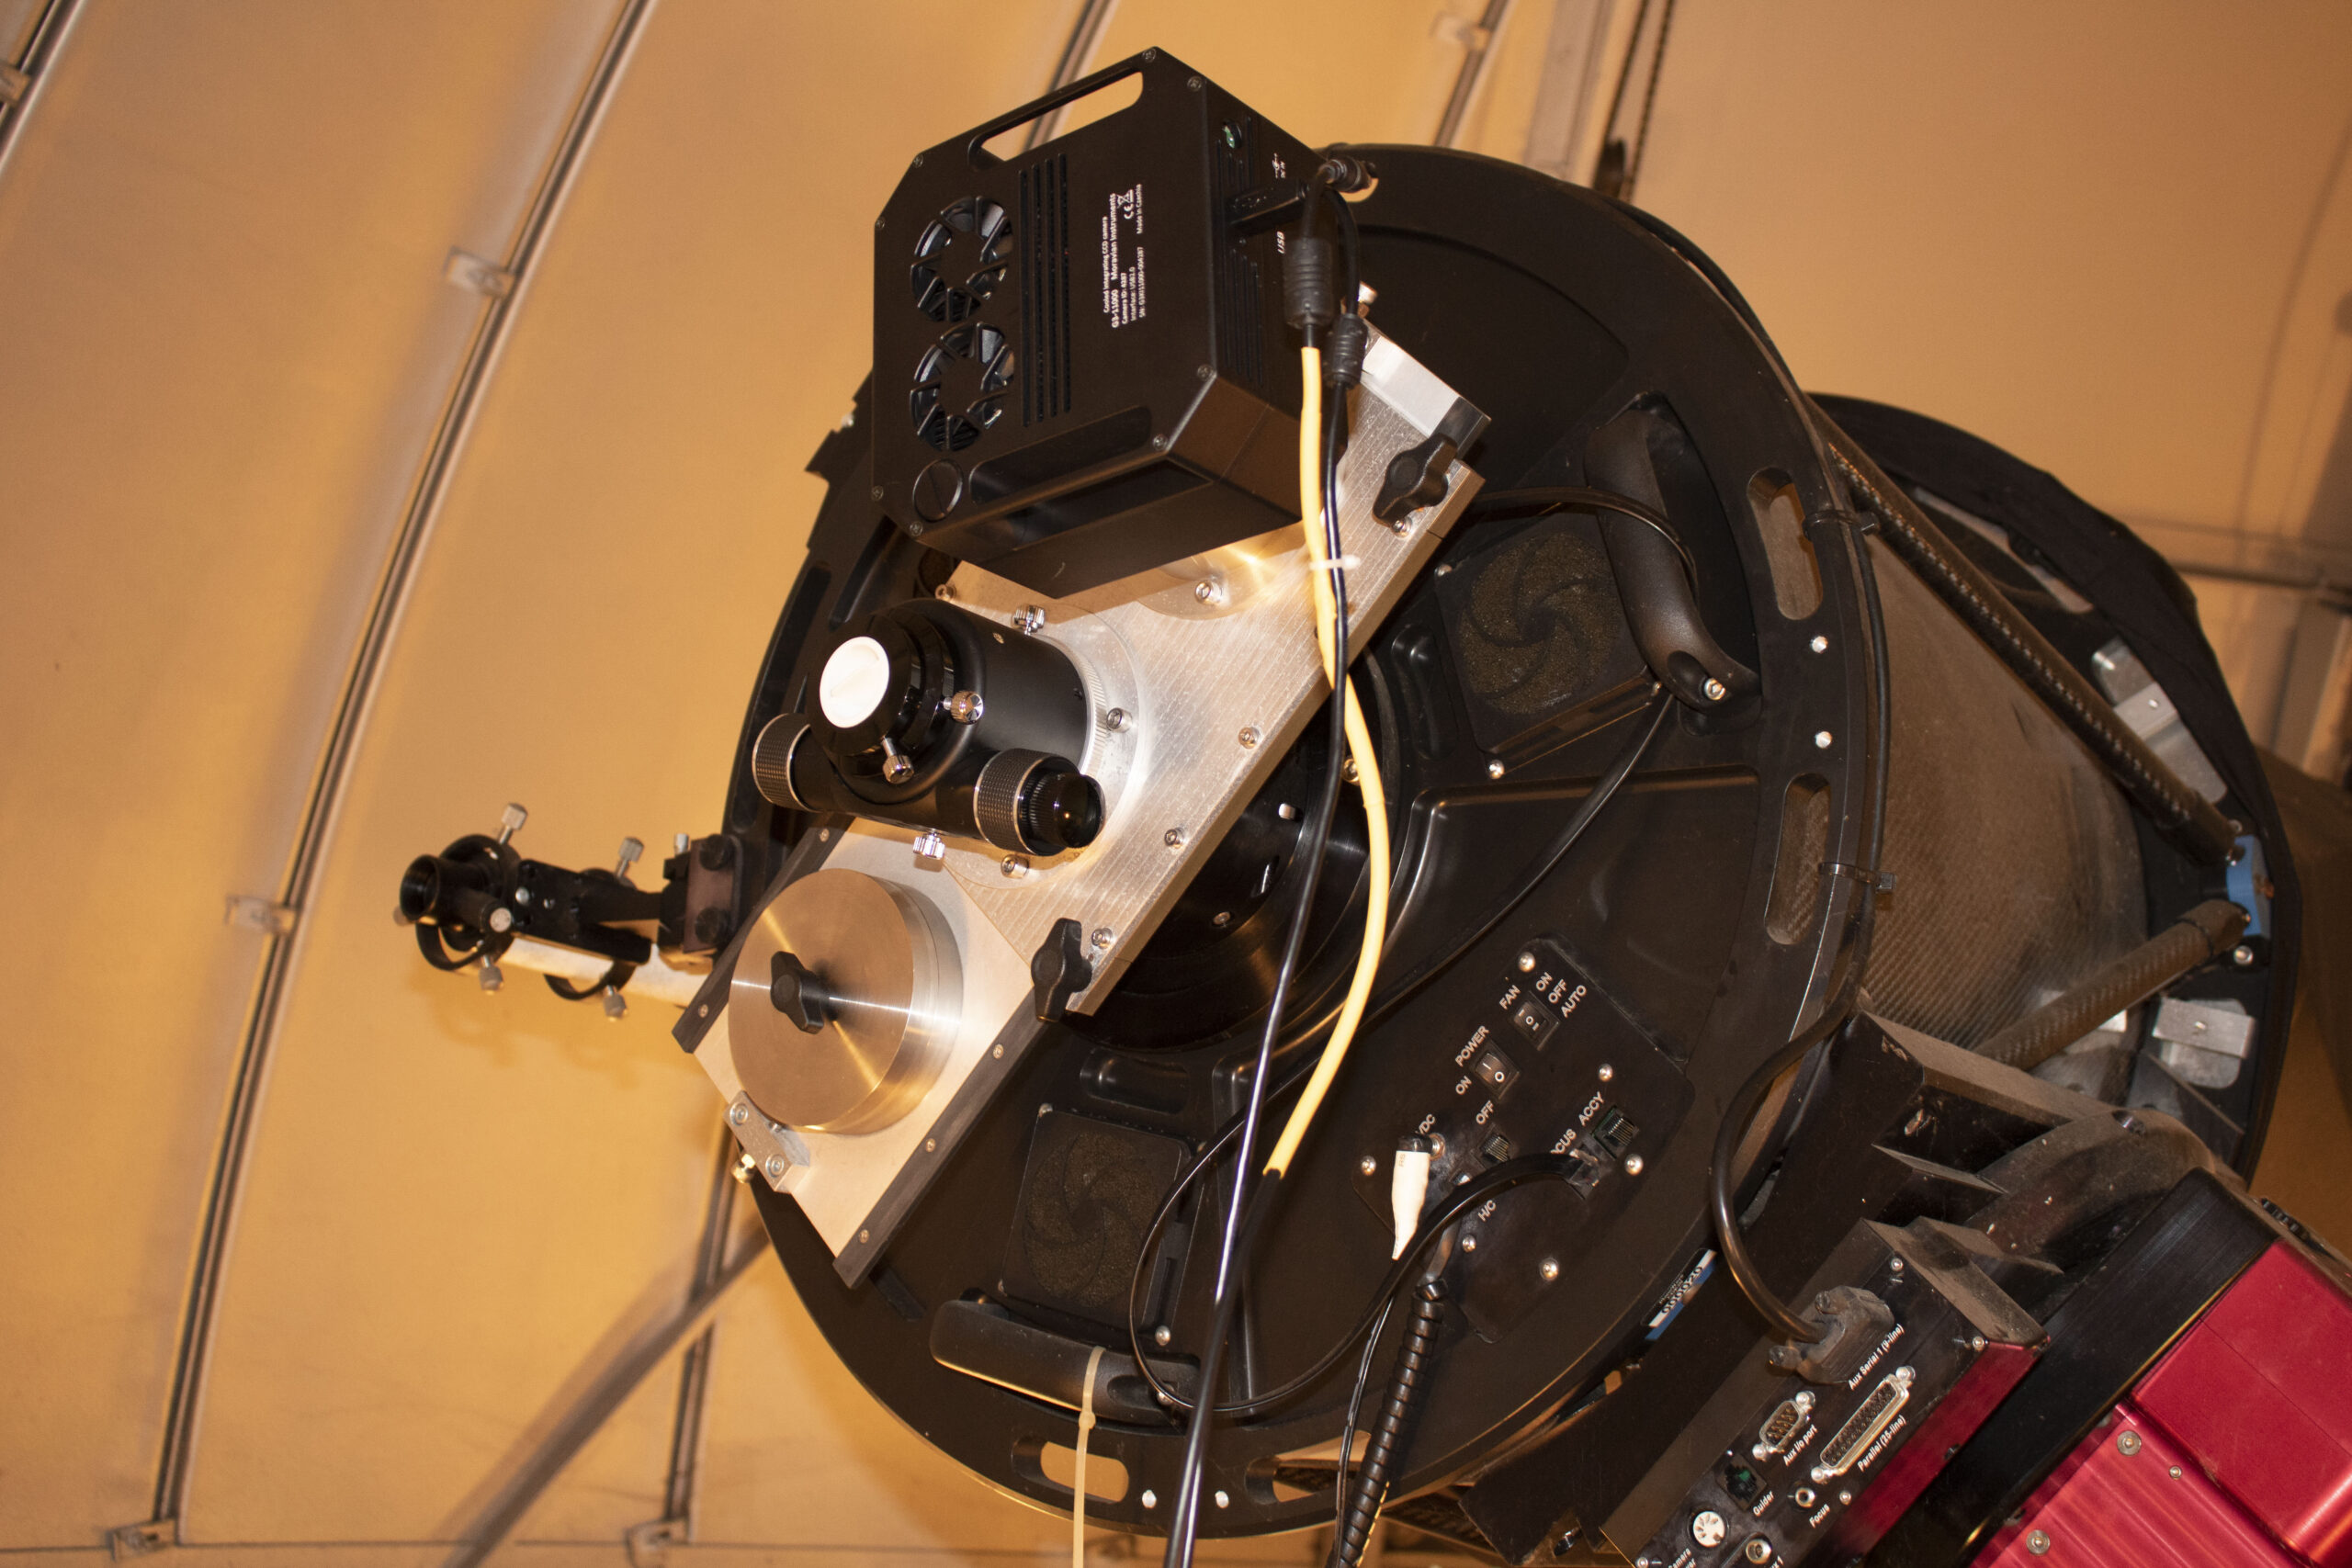
We have a professional grade observatory. This houses a CDK20 from PlaneWave Instruments along with a G3-11000 CCD from Moravian Instruments. This is a £40,000 Telescope coupled with a £20,000 mount and a £4,000 camera. So, there is a lot of expensive equipment!
Why do we need this equipment?
This is quite an expensive telescope, is it really worth spending the money on it? In short, yes. This is a great way of giving students an opportunity to have experience in a professional observatory. There are various research projects running in the 3rd and 4th years which are tailored to use the telescope for their research. This teaches how to collect real scientific data, using real equipment, in person. That means you are not just sitting in front of a PC screen remote controlling a telescope in Chile. You are hands on with the equipment.
This also gives us opportunities to open out to the public and younger kids to encourage them to pursue a scientific career if they wish. I have run many outreach sessions, with a 100% fulfilment rate. Everyone who has attended these sessions have always said that it has been a really inspiring trip. We are open to a wide range of ages, usually from ages 8 years to late teens.
We also host public open evenings, this are normally advertised on the Universities twitter page. There are limited spaces for these events due to the size limitations within the dome.
What you can expect from a typical evening
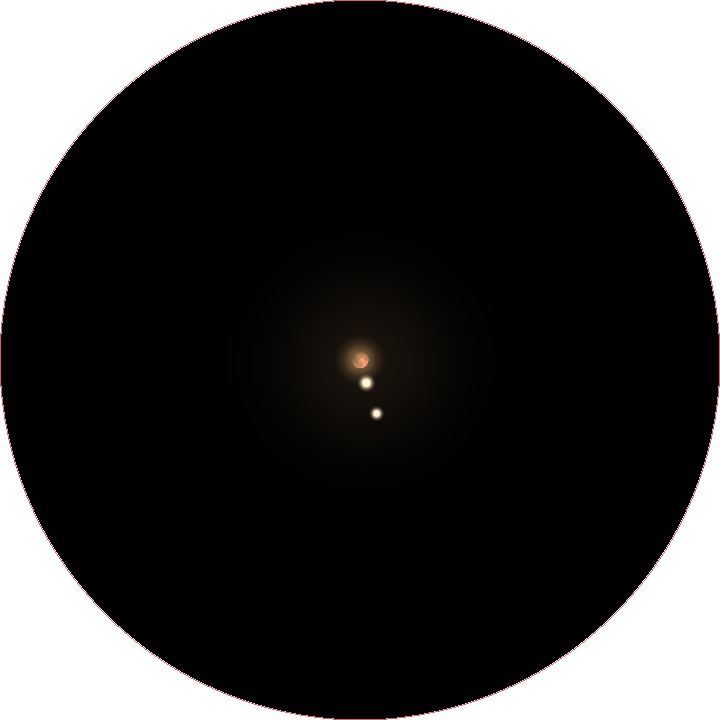
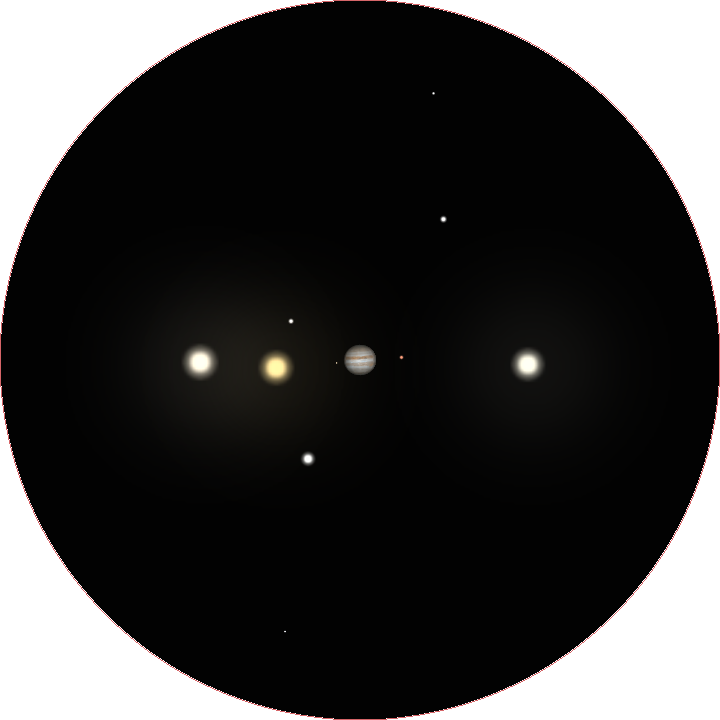
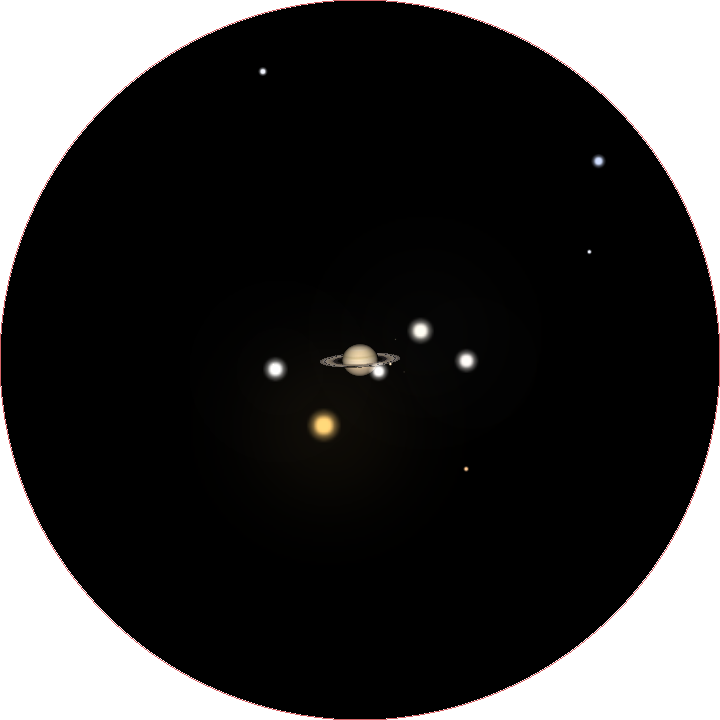
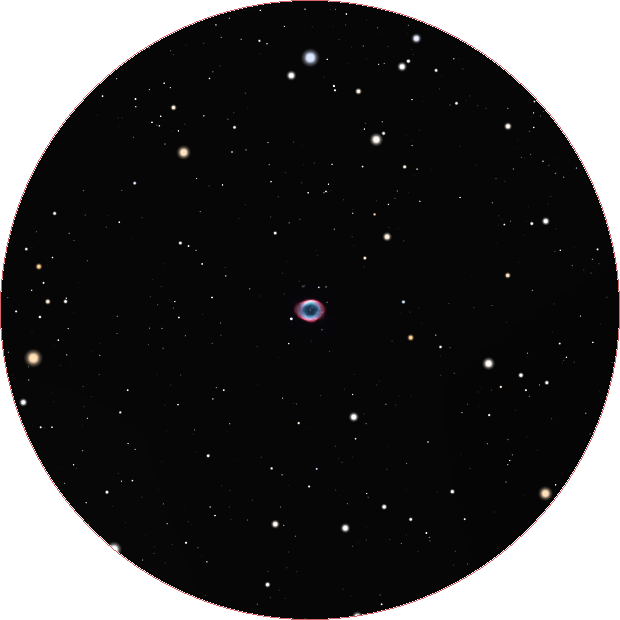
Depending on the time of the year, there might be a good view of the gas giant planets such as Jupiter and Saturn. These are really spectacular to see through the telescope, especially when the skies are crystal clear. We are also able to observer nebulae such as the Ring Nebula (M57) and The Orion Nebula (M42). M57 is quite a dim object, apparent magnitude of 8.8, so it can be challenging to view. The best way of viewing an object like this is on a very clear night, but also using averted vision. This is done by not looking at the object directly, but towards the edge of it. This is due to our eyes being very insensitive in the centre of the retina.
These are the typical field of views when looking through the telescope. These do not depict the actual colour you will see! That can be very different when viewing it with your eyes. Images you see of nebula and other objects, such as those from James Webb or Hubble, have to be taken over a very long time. These images are screen shots from a planetarium software called Stellarium. They are accurate sizes as the telescope specifications are used to calculate the FOV.
Along with using the CDK20, we also do outside observations, where we identify key objects in the sky. These can be constellations or planets, along with specific key stars (like the pole star). This is a fun activity to be involved with.
All viewing is weather dependant! If it is really cloudy or windy then we will be unable to open the hatch of the dome. However, don’t be put off! We can still go inside the dome and demonstrate the equipment. We also have presentations along with interactive demonstrations ready just in case!
There is plenty of time to ask the demonstrators questions about their work, along with any questions that may come up during the session.
The telescope
I have created a post about the telescope, which also includes information about the work I am currently carrying out at the observatory. This goes into more technical details than this post, you can find out more here.
Below are a few photos of the telescope, along with the CCD. The CCD won’t be used during an outreach session as we will be using eye pieces to view objects. This is a lot more exciting than looking at it on a computer screen!

Leave a Reply